Codex CLI is OpenAI's terminal-native coding agent, and installing it takes about two minutes once you know which of the four install paths fits your setup, and which two mistakes eat most of the debugging time people lose on this. This is a clean, current walkthrough: install, authenticate, first run, the Node version detail that trips people up, and the wrong-package trap that quietly sends beginners down a rabbit hole installing something unrelated entirely.
Before you install: check your Node version
Codex CLI's npm install path requires Node.js 22 or newer and will refuse to install on Node 18 or below. If you've had a project sitting untouched for a year, this is the step people skip and then spend ten minutes debugging a confusing install failure. Check with:
node -v
If you're on an older version, upgrade through your version manager of choice (nvm install 22, fnm install 22, or your OS package manager) before continuing.
The wrong-package trap (read this before you type anything)
Here's the mistake that burns more first-time installers than the Node version does: the correct package is @openai/codex, the scoped one. If you run npm install -g codex (unscoped), you'll install a completely unrelated package, a codex project that's sat on npm since 2012 and has nothing to do with OpenAI, and then spend a baffled ten minutes wondering why the codex command behaves like a different tool entirely. The scope, the @openai/ prefix, is the whole difference. Get it right the first time:
npm install -g @openai/codex
Pick an install method
Codex CLI ships four ways to install it, and which one fits depends on your platform and how much you want npm managing the binary versus a native installer.
| Method | Command | Best for |
|---|---|---|
| npm | npm install -g @openai/codex@<version> | Developers who already manage tools through npm and want a pinned version |
| Homebrew (macOS) | brew install --cask codex | Mac users who prefer Homebrew for CLI tools |
| winget (Windows) | winget install OpenAI.Codex | Windows users on native winget, no WSL required for the binary itself |
| curl / PowerShell installer | curl -fsSL https://chatgpt.com/codex/install.sh | sh (Mac/Linux) or the PowerShell equivalent on Windows | A one-liner that doesn't require npm or Homebrew already set up |

Pinning a version with the npm method (@openai/codex@<version>) is worth doing on a team, so everyone's agent behaves the same way in a given sprint rather than silently picking up whatever shipped that morning. Codex ships on a near-weekly cadence in mid-2026 (the package was on a 0.14x release in mid-July), and an unpinned install can genuinely drift out from under two people on the same repo between the start and end of a single week, one person gets a behavior change or a new default the other doesn't, and you waste an afternoon reconciling why the same prompt produced different results.

Authenticate
On first run, Codex CLI prompts you to sign in. You have two options:
- ChatGPT account. If you're on Plus, Pro, or Business, usage is bundled into your existing subscription and this is the simplest path, no separate billing to track.
- API key. Set
OPENAI_API_KEYin your environment for standard per-token API billing instead of a ChatGPT plan. Set it through your shell's secrets manager,direnv, or a read-once prompt (read -rs) rather than pasting it in plaintext into a dotfile that might end up committed somewhere.
Either path gets you to a working agent; the choice is really about whether you want usage bundled into a flat subscription or billed per token against actual usage.
Run your first prompt
Codex CLI defaults to suggest mode, the safest starting point: the agent proposes every file edit and every command it wants to run, and nothing executes until you approve it.
codex -- "add a loading spinner to the submit button in src/components/SignupForm.tsx"
Watch the first few proposals closely before you consider loosening the approval settings. Suggest mode is slower than letting Codex run autonomously, but it's the right default until you've seen how it behaves on your specific codebase.
Choosing an approval mode
Suggest mode isn't the only option, and once you trust how Codex behaves on your codebase, it's worth knowing the other two sandbox levels exist:
- Suggest mode (default). Every file edit and every command is proposed first; nothing runs without your explicit approval. The right default for a new codebase or a new team member's first week with the tool.
- Auto-edit mode. Codex edits files directly without asking, but still asks before running shell commands. A reasonable middle ground once you've seen enough proposals to trust its edits but still want a checkpoint before it executes anything.
- Full-auto mode. Codex edits files and runs commands inside a sandboxed environment without per-action approval, checking in only when it's done or stuck. This is faster for well-scoped, low-risk tasks, a refactor with a clear target, a test suite you want run and iterated on, but it's not the mode to reach for on anything touching auth, billing, or production data until you've built real trust in how the agent behaves on your specific codebase.
Switch modes with a flag on the command (codex --full-auto -- "...") or set a default in your config file if you find yourself picking the same mode every session.
Set up AGENTS.md
AGENTS.md is Codex's equivalent of a project brief: a markdown file that tells the agent how your repo works, what conventions to follow, and what not to touch. Place it in your repo root for project-specific instructions, or in ~/.codex/AGENTS.md for instructions that apply globally across every project. The fastest way to generate a first draft is Codex's own /init command, which reads your repo and writes a starting AGENTS.md you then edit by hand. A well-maintained AGENTS.md is one of the highest-leverage five minutes you'll spend on this setup, it's the difference between an agent that keeps proposing changes that don't match your codebase's actual patterns and one that gets it right on the first pass.
Now give it eyes: connect a visual-feedback loop
Codex CLI can read your repo, run your build, and propose a fix, but like every terminal agent as of mid-2026, it can't open the rendered page and tell you whether that fix actually looks right. It confirms the code compiles; it has no way to notice that the spinner you just asked for is misaligned on mobile.
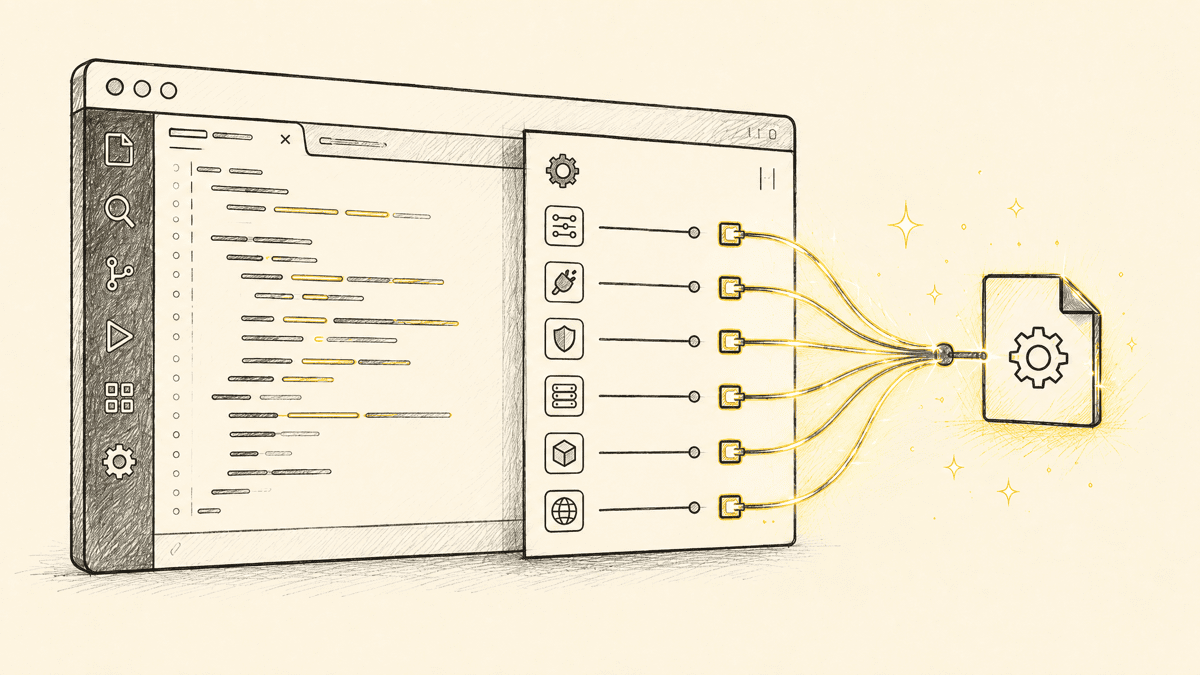
This is where MCP earns its keep. Codex CLI supports MCP servers configured in ~/.codex/config.toml, the same mechanism Claude Code uses, just a different config file:
[mcp_servers.shotline]
url = "https://getshotline.com/api/mcp"
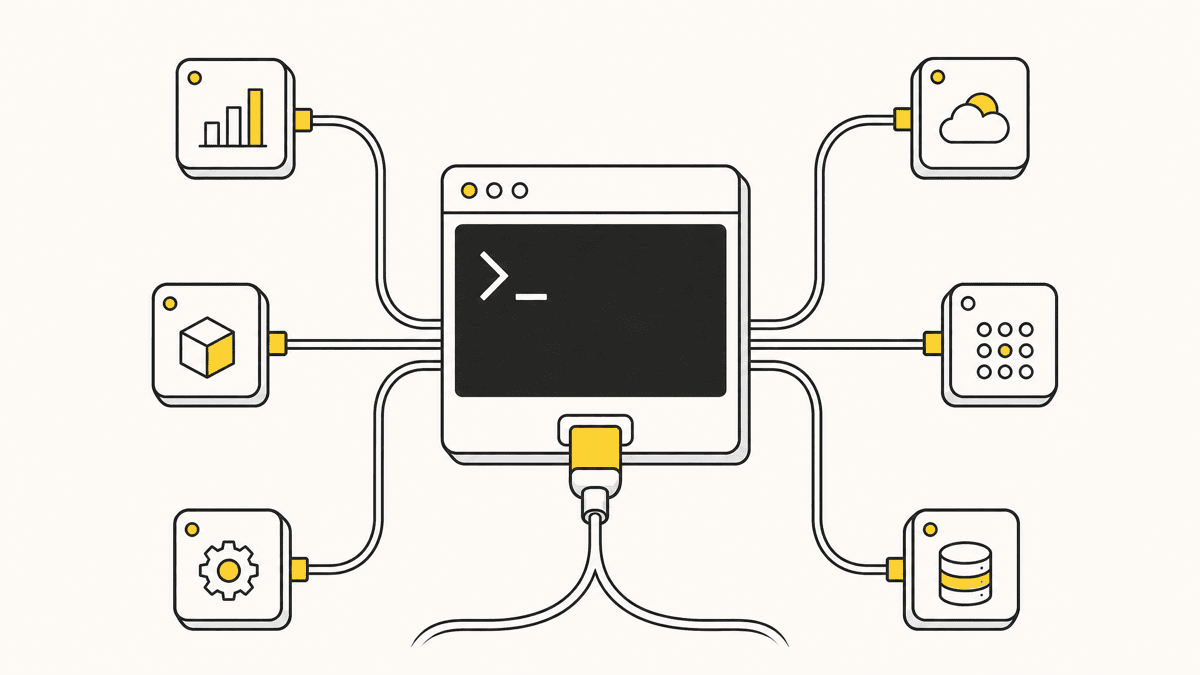
Save that, restart Codex, and the first tool call in a session opens a browser sign-in. From there, Shotline's MCP server gives Codex a way to pull a client or teammate's pinned feedback, selector, viewport, and console context included, and act on the exact element instead of guessing from a description. It's 21 tools, free on every plan, and setup is the same two-minute shape as any other MCP server: add the entry, restart Codex, verify it's live with a test call.
A quick troubleshooting pass
If something doesn't work on first run, these cover most of what actually goes wrong:
- You installed the wrong
codex. Covered above, but it's worth re-checking here: runnpm ls -gand confirm the entry reads@openai/codex, not a barecodex. If it's the unscoped one, uninstall it (npm uninstall -g codex) and install the scoped package. command not foundafter install. The install directory usually isn't on yourPATHyet. Restart your terminal, or add the npm global bin path manually if you used the npm method.- Auth loop that never completes. Usually a stale token. Sign out and back in, or switch to API-key auth to rule out an account-side issue.
- Old version still running after an upgrade. If you installed via multiple methods over time (npm once, Homebrew later), you can end up with two binaries on your
PATHand the wrong one wins. Runwhich codex(orwhere codexon Windows) to confirm which binary is actually executing.
Where this fits next
Once Codex is running, the natural next question is how it compares to the other terminal agent most developers are also trying in mid-2026, covered in Codex CLI vs Claude Code. If you're weighing it against the whole field rather than just Claude Code, the best AI coding agents maps the categories. And if you're setting Codex up specifically because you're deep in a vibe-coding workflow and want the fuller picture of where that workflow tends to break, start with what is vibe coding.
If you're shipping page templates fast once Codex is running, the meta tag generator is a handy one to bookmark for the boilerplate head tags every new page needs, title, description, Open Graph, Twitter Card, in one pass instead of hand-writing them each time.
Shotline connects to Codex over MCP in about two minutes: free to try for 14 days, no card required, then from $19/mo (billed annually; $25 month-to-month) with unlimited client guests. Connect Shotline to Codex once your agent is running and give it a real review loop to work from.